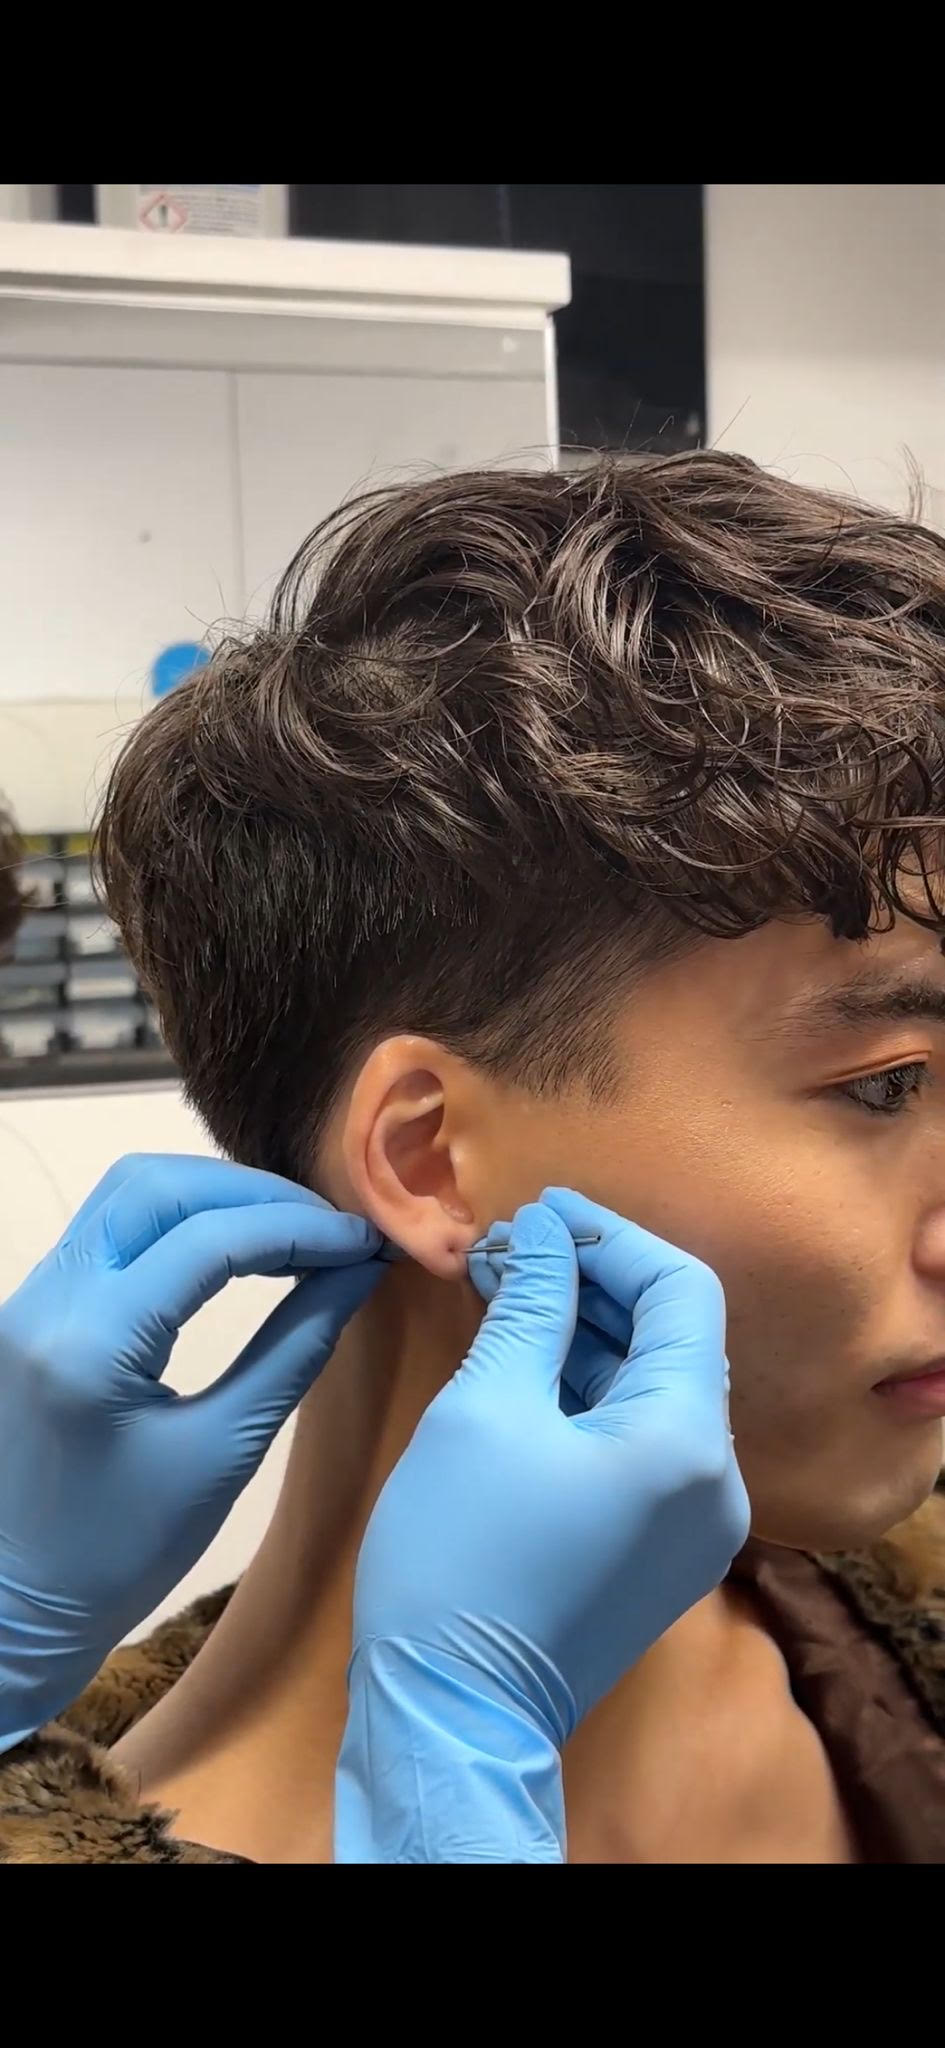


Finally, you have the piercing you’ve probably been thinking and planning about for a while, but what happens now? The aftercare for your piercing is the most crucial step of your piercing journey. If this is your very first piercing, cleaning and caring for it may seem daunting. Have no fear and keep reading to learn about our tried and true aftercare tips!
How to Clean your Piercing
It is important to clean your new piercing as it heals to get rid ofdebris and bacteriathat builds up throughout the day. It is recommended to clean new piercings twice a day, usually once in the morning and once at night.
In regards to what products to use, sterile saline solution is the best to use to clean your new piercing (we have a great one that you can check outhere), or clean warm water in the shower. Making your own saltwater solution at home is no longer recommended as incorrect salt ratios can cause drying out and salt build up on your piercing.
Some products you should avoid cleaning your piercing with are rubbing alcohol or hydrogen peroxide as they can irritate, over clean, and dry out your skin. Antibiotic, antiseptic, and oil based ointments can block oxygen and create build up around the piercing that instead of cleaning helps bacteria to grow.
Cleaning your piercing may sound easy enough, but there are a few important things to remember:
- Only touch your new piercing with clean hands!
- Don’ttwist or turn your piercing while cleaning it, simply gently move the jewellery slightly forwards to clean around the front, then slightly backwards to clean the other side.
- Rinse thoroughly after washing the area or showering to ensure no soap residue has become trapped around the piercing.
- Pat area dry with a clean paper towel or Q-tip.
- Throughout the healing process, check the thread of your jewellery is secure, this will either involve tightening the screw piece if it is internally threaded, or pushing in if the piece is thread less/ push in.
The most important thing to remember about cleaning your piercing is that you do have to actually keep up with it! If you want the best results, you need to remember to clean your piercing daily for the whole length of the healing process. Try to incorporate it into your morning and night routines, or adding reminders in your phone to make remembering it easier.
What to Expect from a Healing Piercing
There are a number of things you can expect tosee, feel, or even smell while your piercing heals. Many people experience some sort of swelling, bruising, and tenderness initially after theirpiercing, which is understandable considering you just created a new hole in your body! You may also notice a small amount of purple ink from the marking which will wash off with showering and normal piercing cleaning. As the piercing begins to heal, expect to see an array of symptoms such as discolouration, slight inflammation, itching, crust around the jewellery, and a secretion of clear or whitish-yellow fluid (not to be confused with pus, which would indicate aninfected piercing). As the body heals around the new piercing channel it is normal to see a draining of old cells form on the exit points of the piercing area, this is why using saline and a clean q-tip or paper product to remove this debris is important so that the piercing can continue to drain and heal healthily.
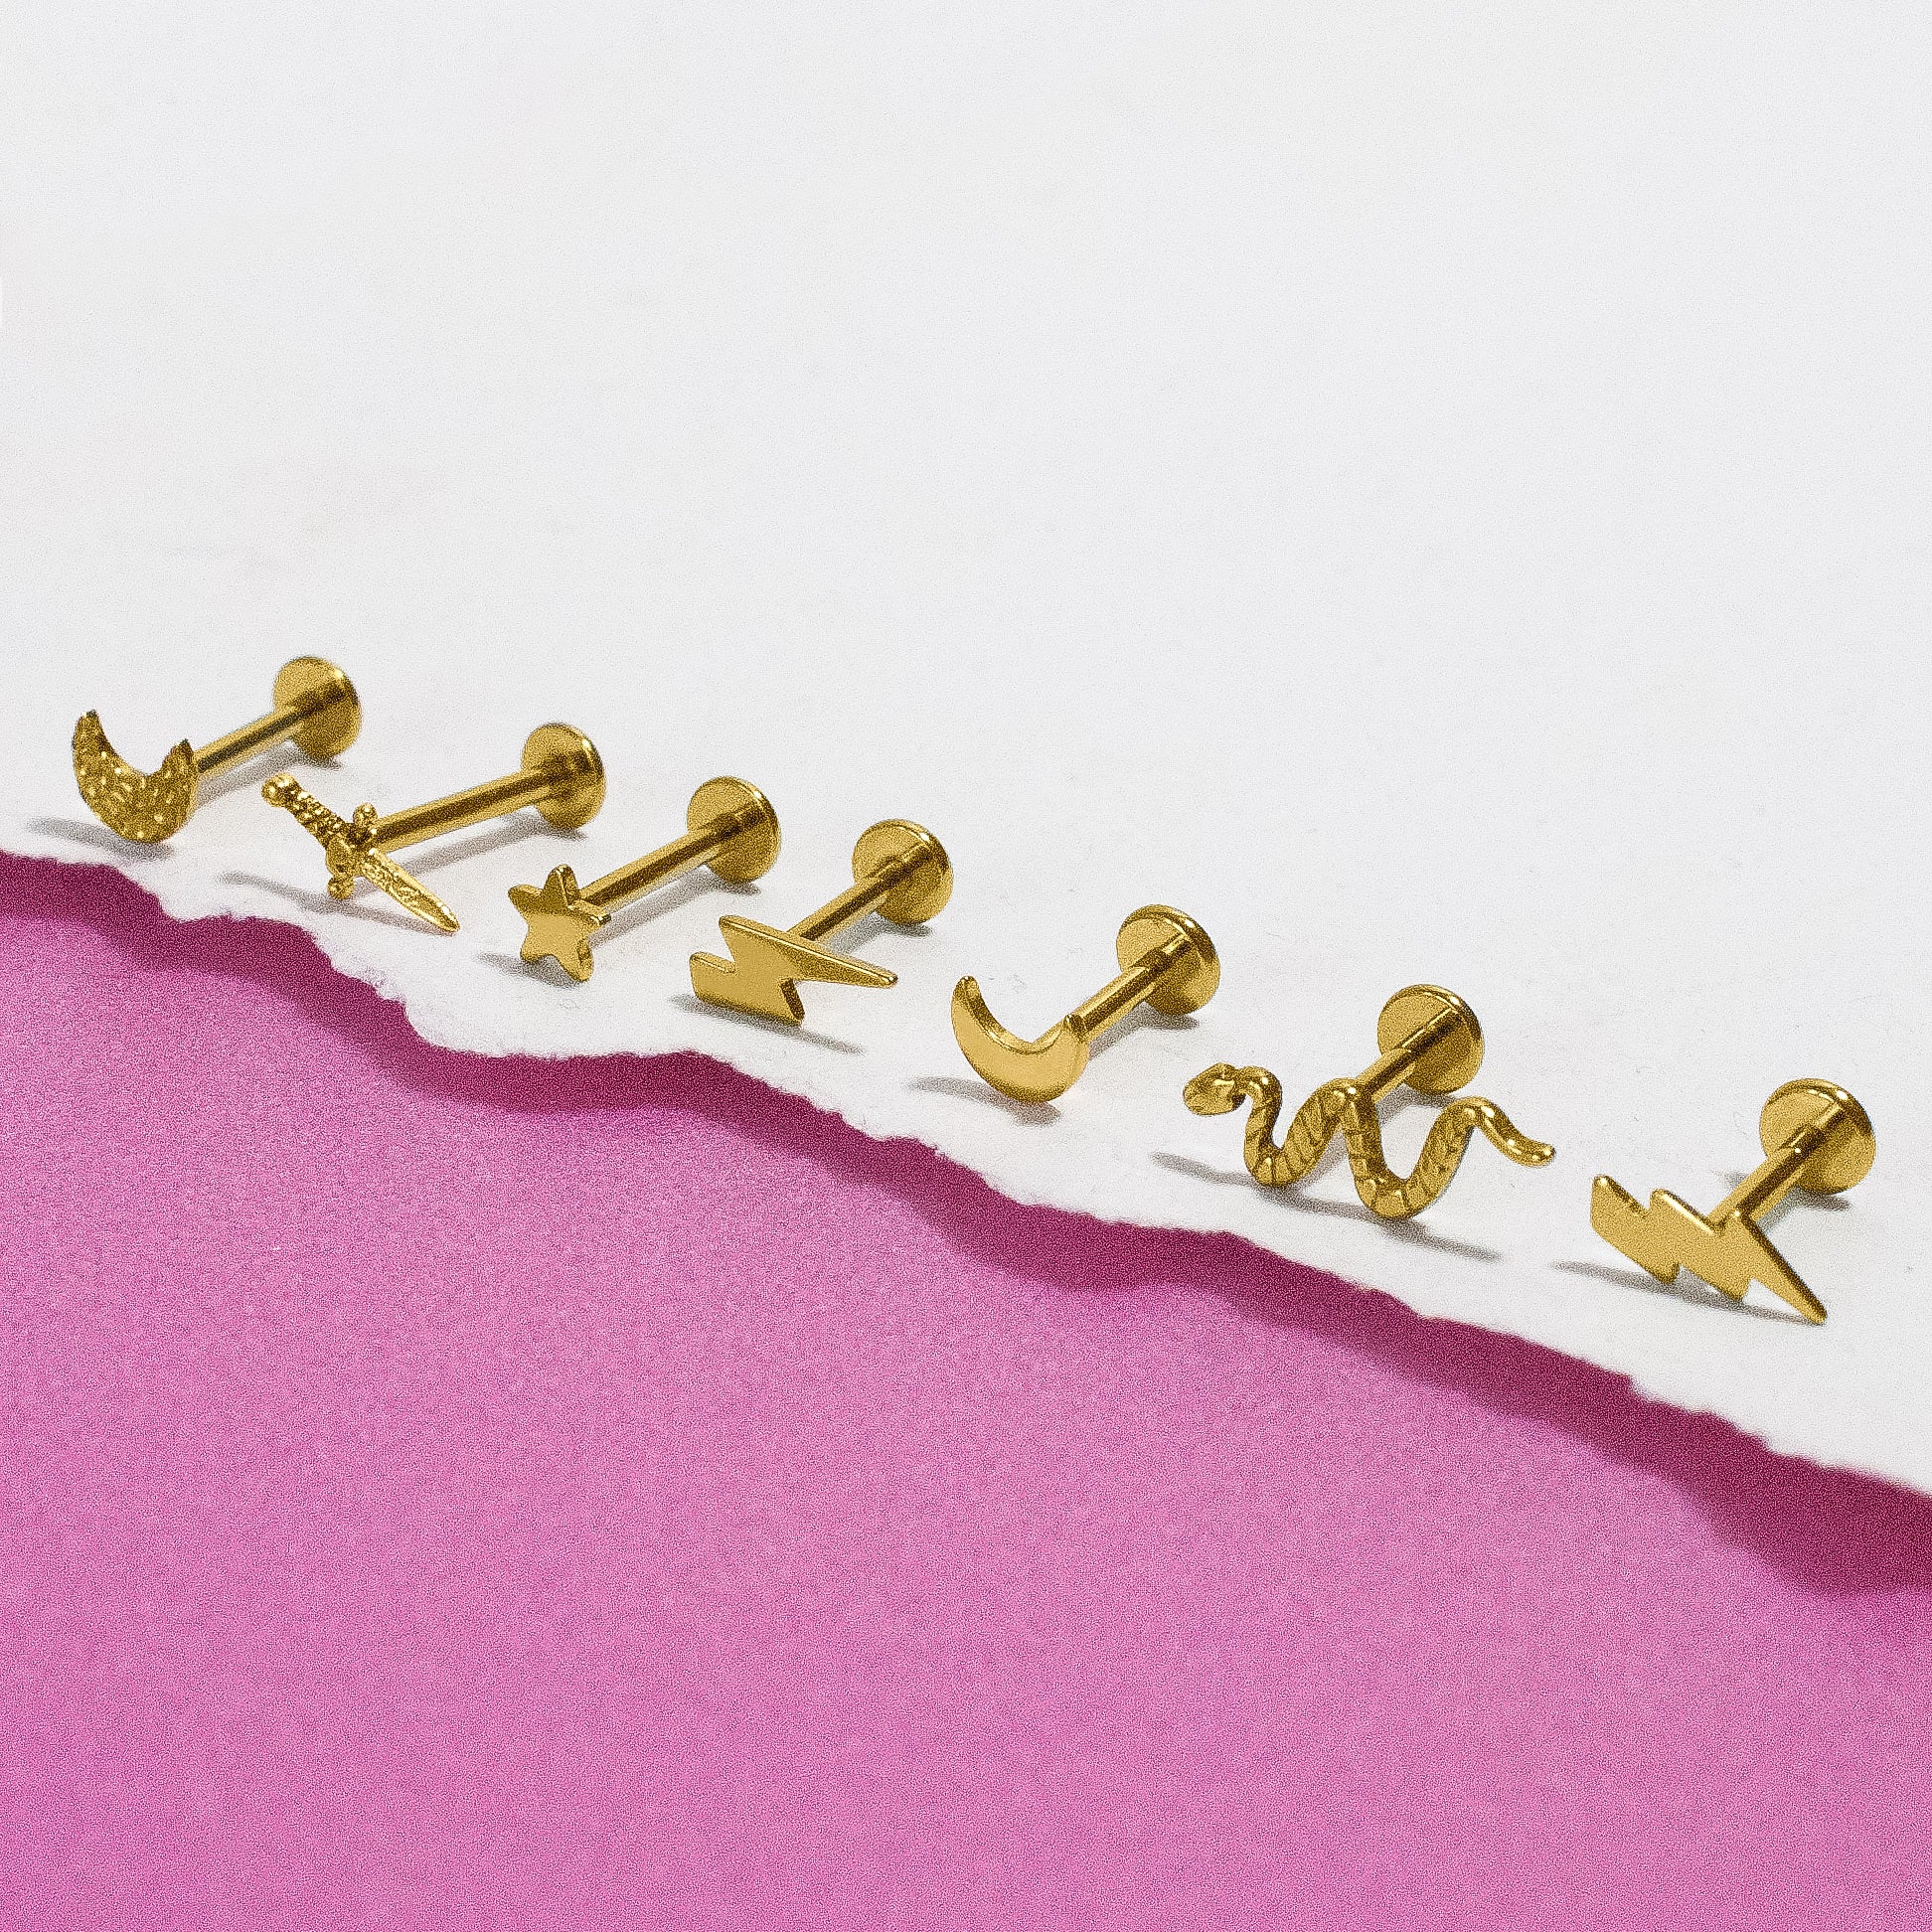
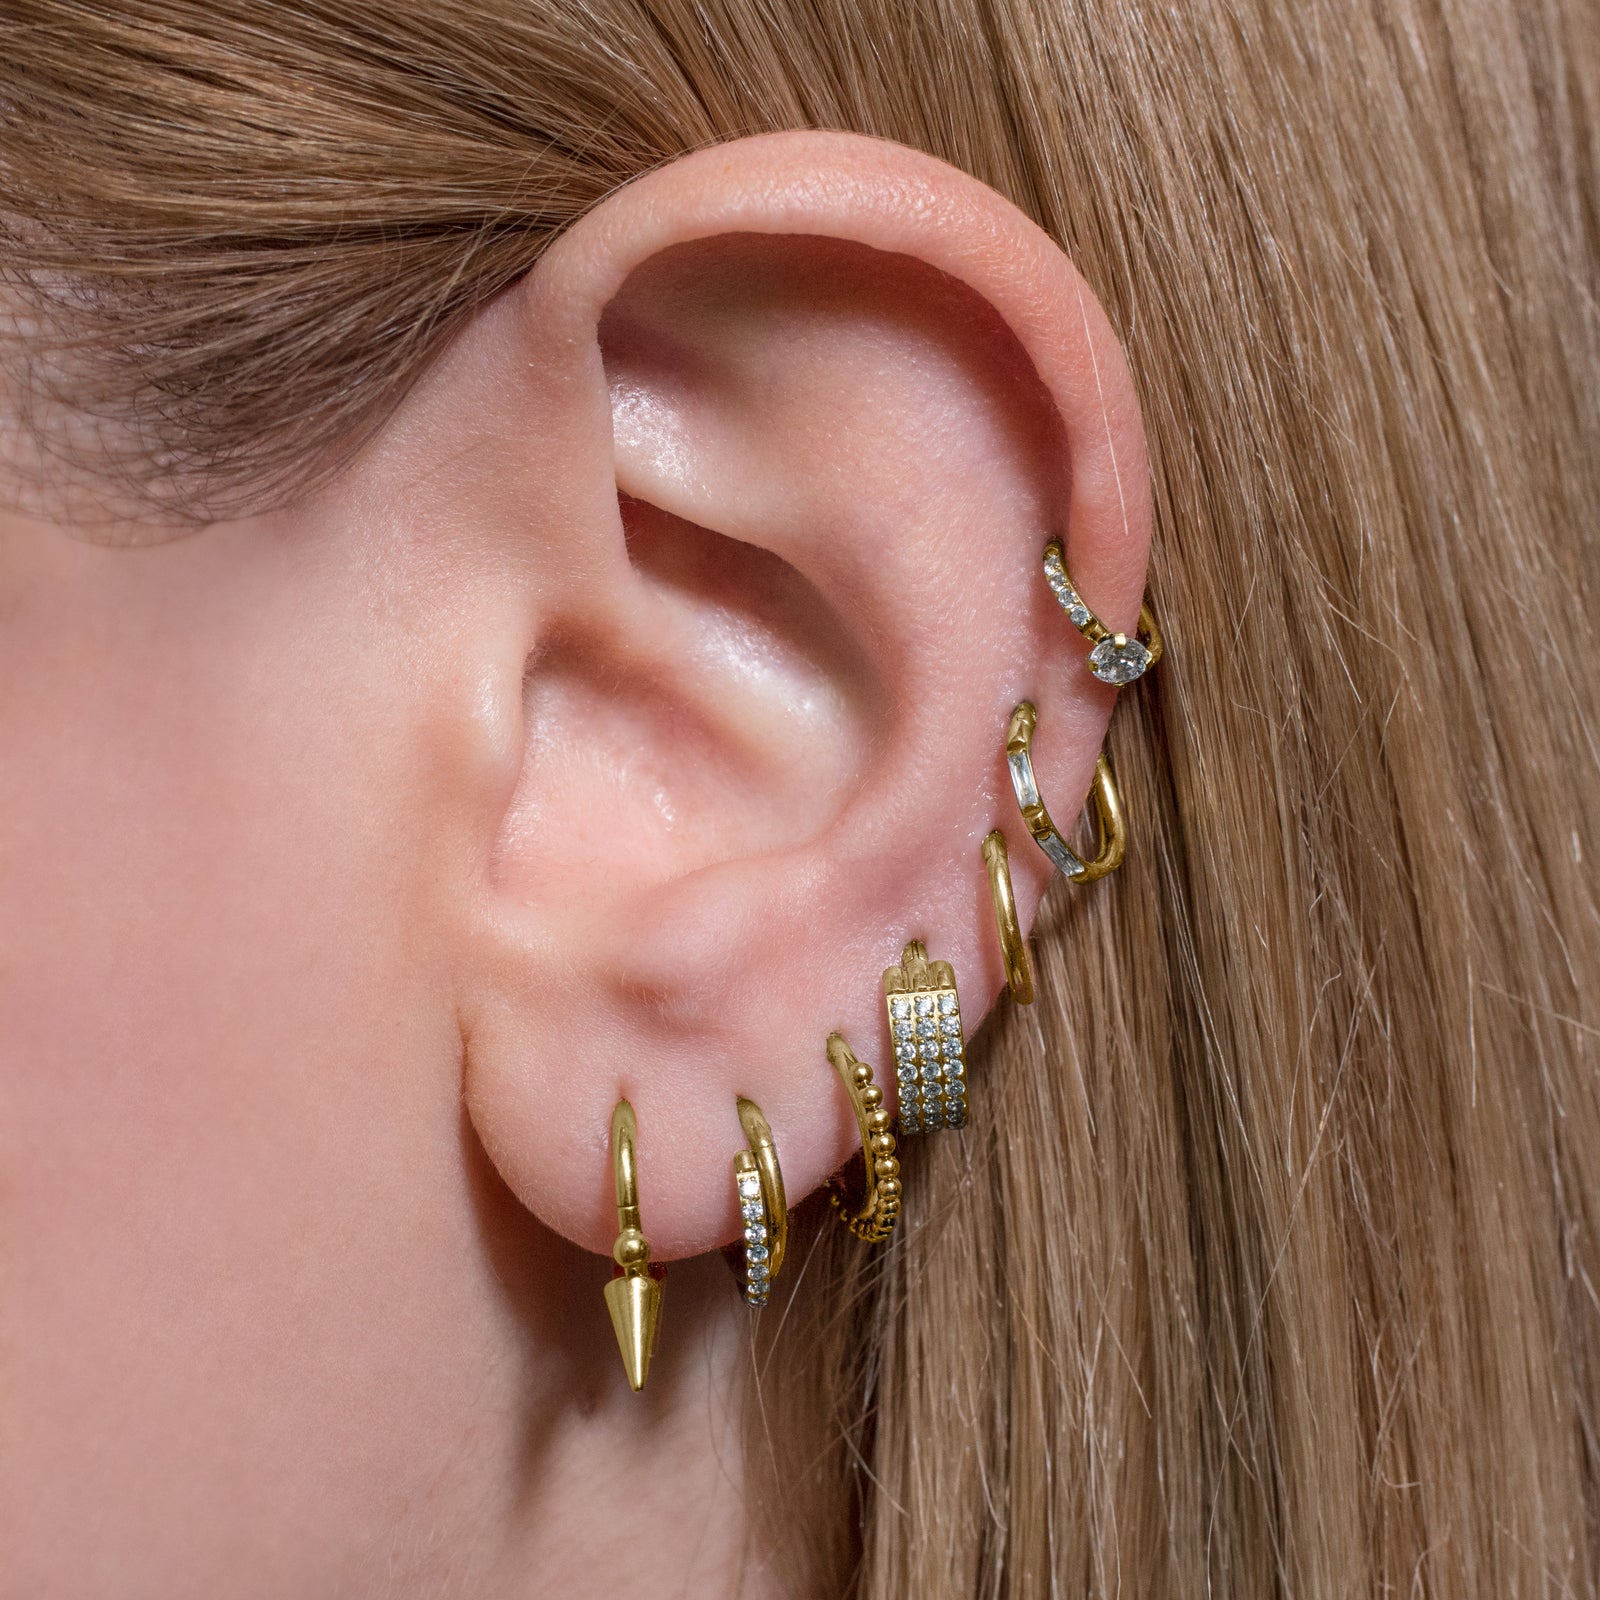
Once you notice the initial swelling and discolouration has subsided, and debris build up has reduced, it means it’s time to come back for your check up and downsize. Initial piercings are performed with a longer piece of jewelry to allow the area to enlarge slightly while the piercing channel forms. It is necessary that your piercer checks the area over, and potentially downsizes your jewellery to make sure that it is the right size for your piercing’s healing stage. This may not be as short as you will eventually wear when the piercing is fully healed, but downsizing during the healing process ensures the jewellery is not too long for the piercing as it heals. When a bar becomes too long, after the initial swelling goes down, it can cause catching, small tears, irritation bumps and migration, leading to angle changes and problematic healing. Downsizing is therefore a vital part of your healing process, your piercer will have advised a rough time for when to return for this, but if you’re unsure you can always call or email to check when would be the best time for you to return.
Occasionally people think their piercing has healed earlier than expected, and they often want to try and change their jewellery too soon- particularly to a ring not yet suitable for the area. Again, this is not recommended as your piercing is still healing! It is also very likely that the hole for your piercing can close up within minutes, so it’s best to not change your jewellery too early or leave it empty for too long. If you would like advice or help changing your piercing, please get in touch so we can help you.
How Long will my Piercing Take to Heal?
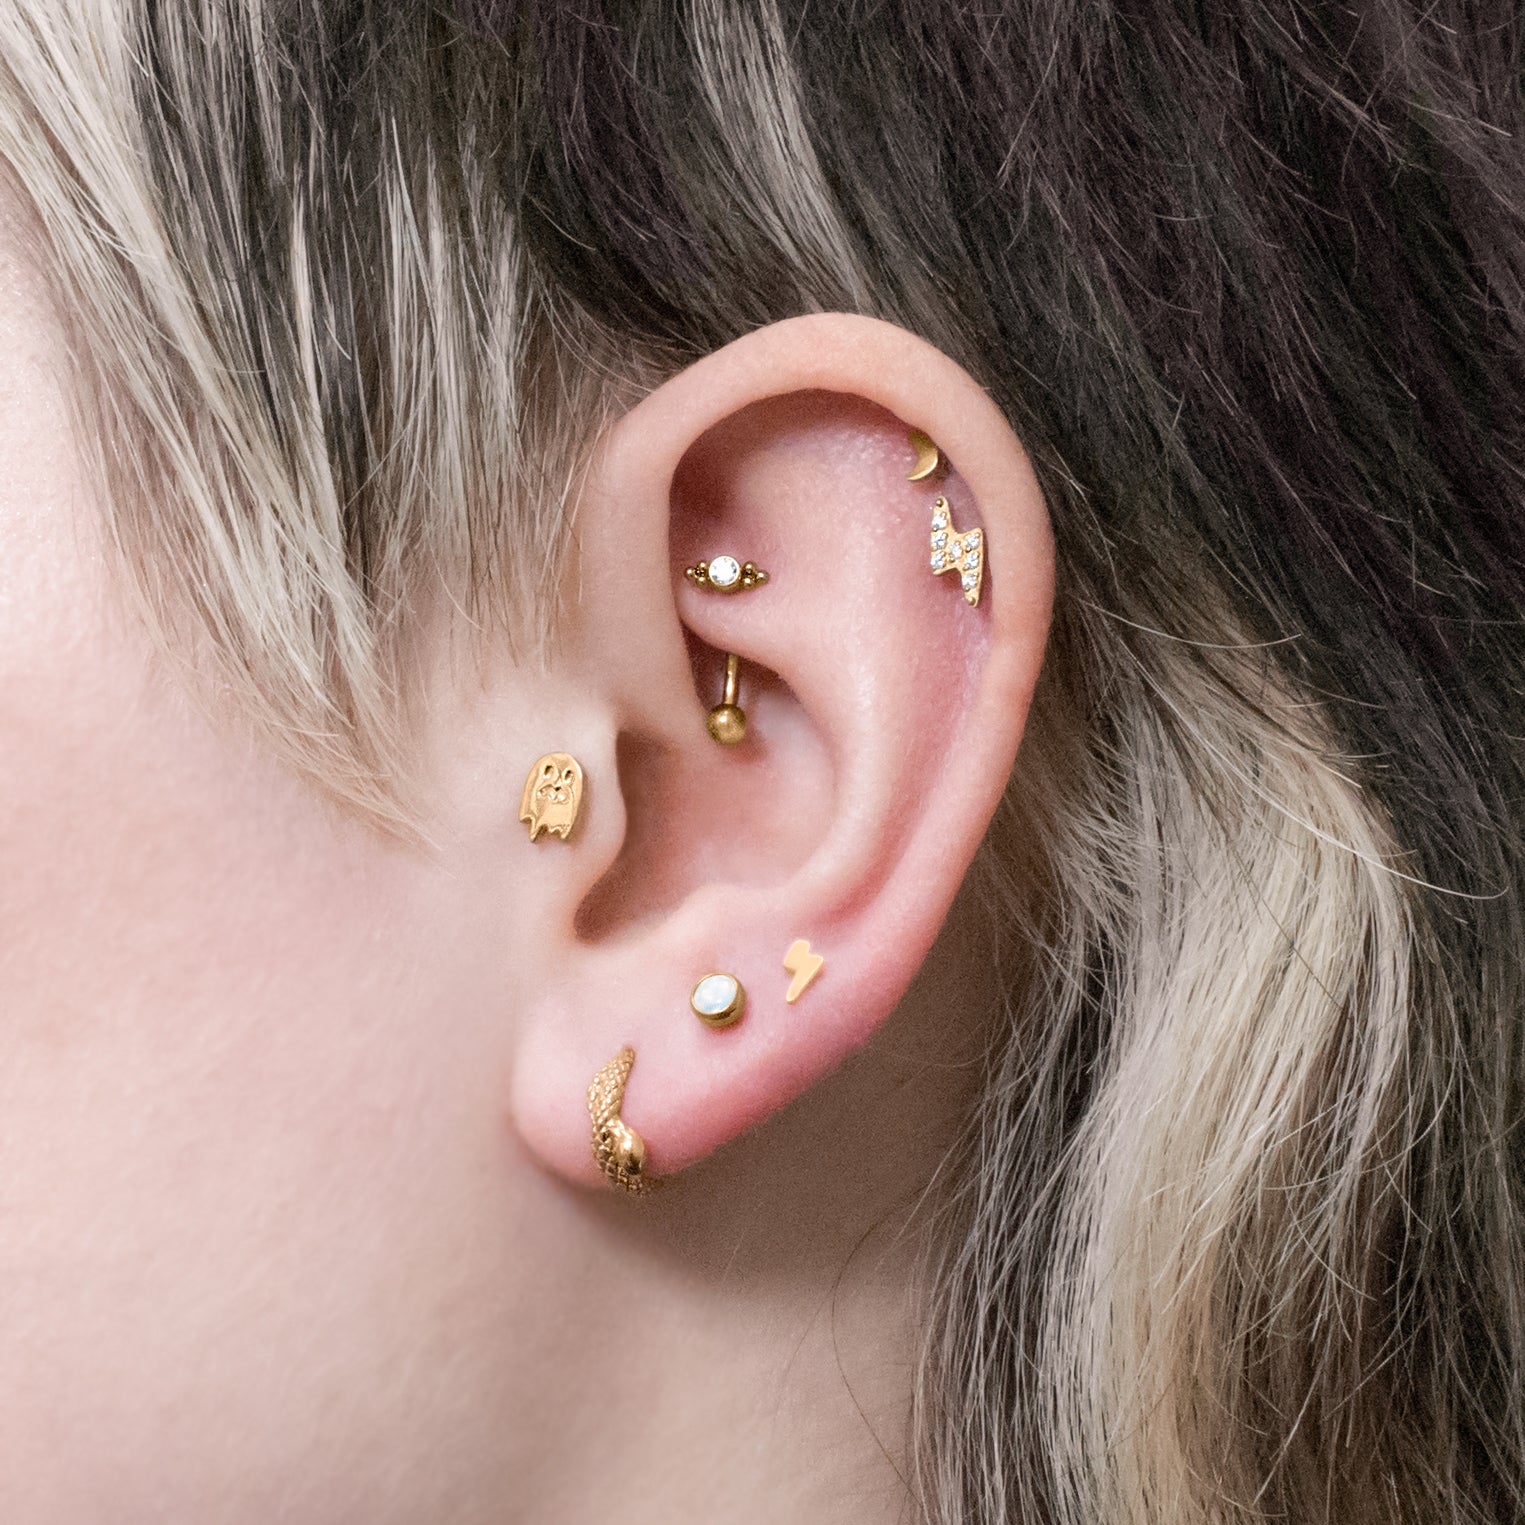
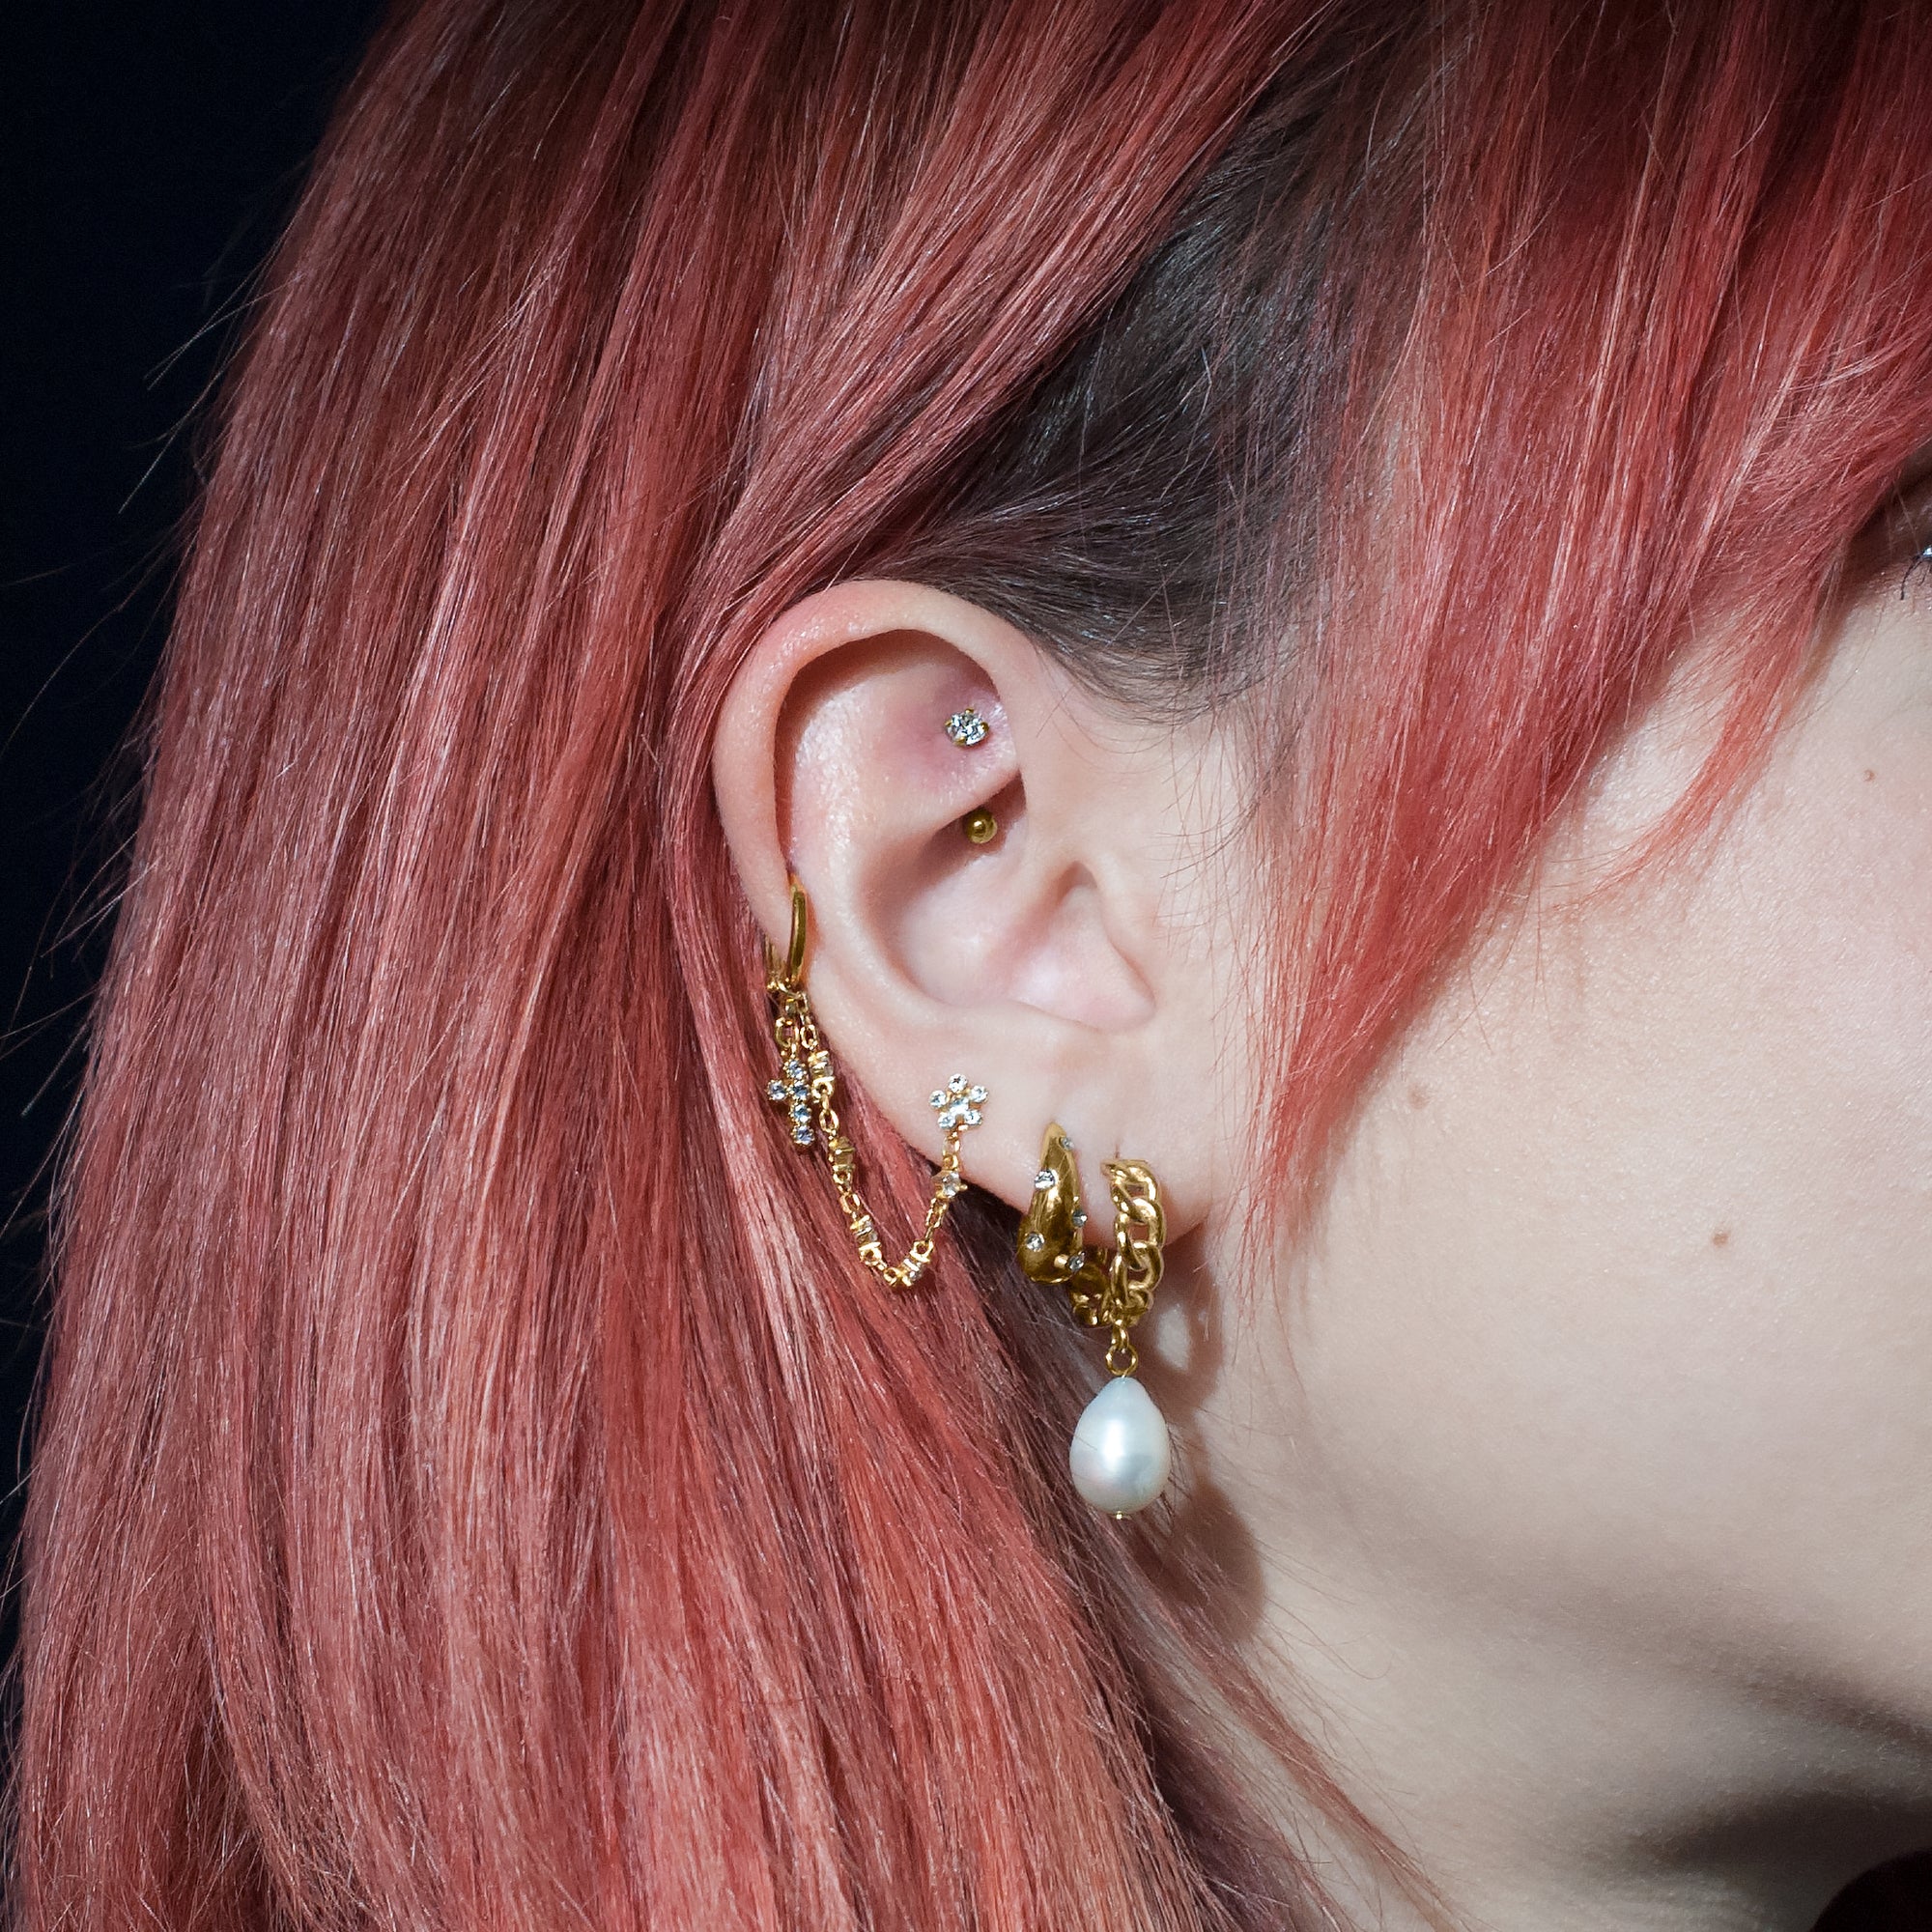
The healing journey for a piercing is mostly dependent on where on the body you got your piercing. But, no matter where you got your piercing, expect it to take at least acouple months. For a typical ear lobe piercing, it can take around 3-6 months for it to heal while an upper or inner ear piercing (cartilage area) usually takes 6-12 months to heal, sometimes longer.
While these are just estimates of heal times, you should listen to your piercer and how long they say it will take your piercing to heal. However long they say your piercing will take to heal, that is how long you should be cleaning and taking care of it for.
Conclusion
The decision to get a new piercing should not be made lightly. Lots of money, time, and care go into a properly healed piercing, so it’s important to ask yourself if you’re ready for the responsibility. If you are ready for your next piercing, try booking withMetal Morphosis! We’re excited to be back in Central London with our next boutique opened inCarnaby. Come say hey and grab your next piercing while you’re there!